Here at The Outdoor Look we aim to help our customers with all of their projects. A commonly asked questions we get is how do you build an artificial hedge using the faux foliage hedge tiles. We can build them for you, alternatively we can also show you how to build them yourself, in our guide. It is a great DIY project for all those that like a project. Here we run through the steps for how to build an artificial hedge, using our artificial hedge tiles. We also provide a handy video showing how we build a bespoke size hedge for a customer.

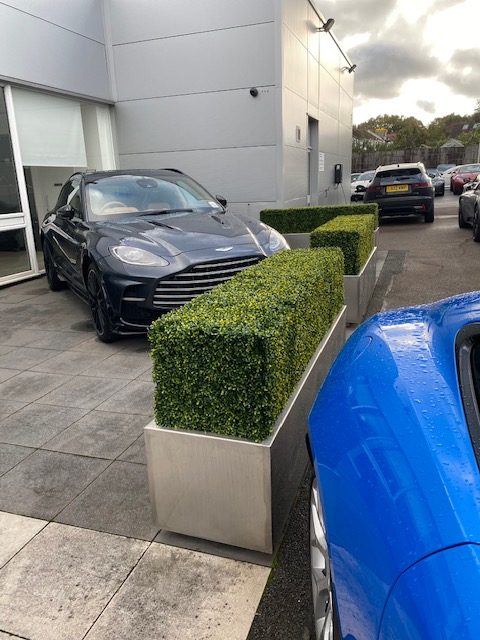
Which hedge tiles to use?
The most commonly used hedge tile styles when building an artificial hedge are, the Amazon and the Topiary hedge. These two styles of tile both feature a thick foliage coverage across the tile with realistic leaves. The boxwood topiary is a very traditional foliage often used for decorative hedging in UK gardens. This making it perfect for a artificial hedge version. The amazon tiles are a beautiful mix of foliage featuring an ivy leaf throughout, making it ideal for a wild faux hedge.
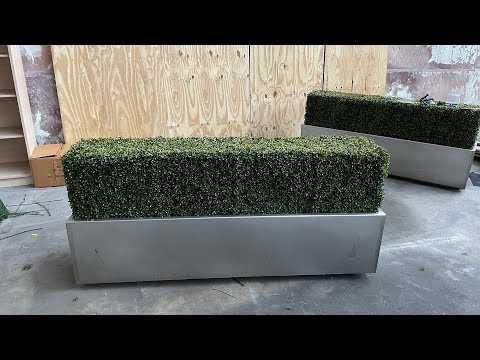
You will need:
Step 1:
The first step is to measure out the size you would like to build an artificial hedge or hedges. From this you can then work out the materials and quantities you require. To work out the hedge tiles use our handy calculate on the product page to work out what you need. For example, if the front of your hedge measures 1m high x 2.5m length, you would require 10 tiles to cover it. Times this by 2 to get the quantity for both sides. Most of The Outdoor Looks hedge tiles are 50cm x 50cm. You then need to repeat this process for the top of your hedge and the two sides. You do not need to cover the base of the hedge if you are placing it into a trough etc.
We strongly recommend using a 12g pre-galvanised weld mesh for the framework of the hedge. This can be bought online from retails or from some local hardware stores. You will also need black weed-membrane, green metal hog ring clips, green cable ties, and metal gabion clips and tool. All of which can be bought from local hardware stores and some garden centres.
Step 2:
Once you have bought all of your materials you are ready to begin building. First, build the galvanised mesh frame work. The supplier should cut the mesh to size for best results. For a long hedge over 1m, cut a section of the galvanized mesh to support the top and sides. Place it in the middle of the framework to strengthen it. You may need more than one support section depending on the length you are building. Use the metal gabion clips to secure all the sections of the metal framework together. It is worth starting with the corners and then running along the 4 top sides. See video for clarification. You can use as many clips as you like.
Top Tip
It is worth extending the height of the mesh frame beyond what will be covered by the artificial hedge tiles. As this extra mesh will sit down into the trough anchoring it into place.
Step 3:
Now that you have your metal framework built, you can attach the black weed membrane. Drape this over the top of the hedge and secure to the framework. Secure it all over using the green hog ring clips and hog ring tool. Neatly fold in the corners or trim the excess off here and join the fabric sides to the frame work. This membrane will help to block out any light passing through the foliage, making for an even denser looking hedge.
Step 4:
Initially, layout the faux foliage hedge tiles on the ground, based on where they will eventually go when placed onto the frame. Begin by connecting the hedge tiles together for the front and or back section. We recommend trimming off the edge of the tiles that have the male/female connectors on. The reason for this is that it will give you a neater, closer finish on the top and side edges. From here you can attach the hedging to the framework through the membrane. To do this you can use either cable ties or metal hog ring clips, as shown in the video guide.
For the tiles on the top and the two end sides, we recommend trimming off the thin strip on the edge that have the male/female connectors. This will help you achieve a neater and closer fit when the tiles meet at the edges. Moreover, depending on the width of your hedge, you may need to trim down the tiles further. See the video for a clearer guide on trimming the tiles. You can then begin to secure them to the framework and the front and back hedging.
Step 5:
After you finish, gently ruffle the foliage to blur the joints of the tiles, then place it in your trough or planter. Ready to finish off your garden project.
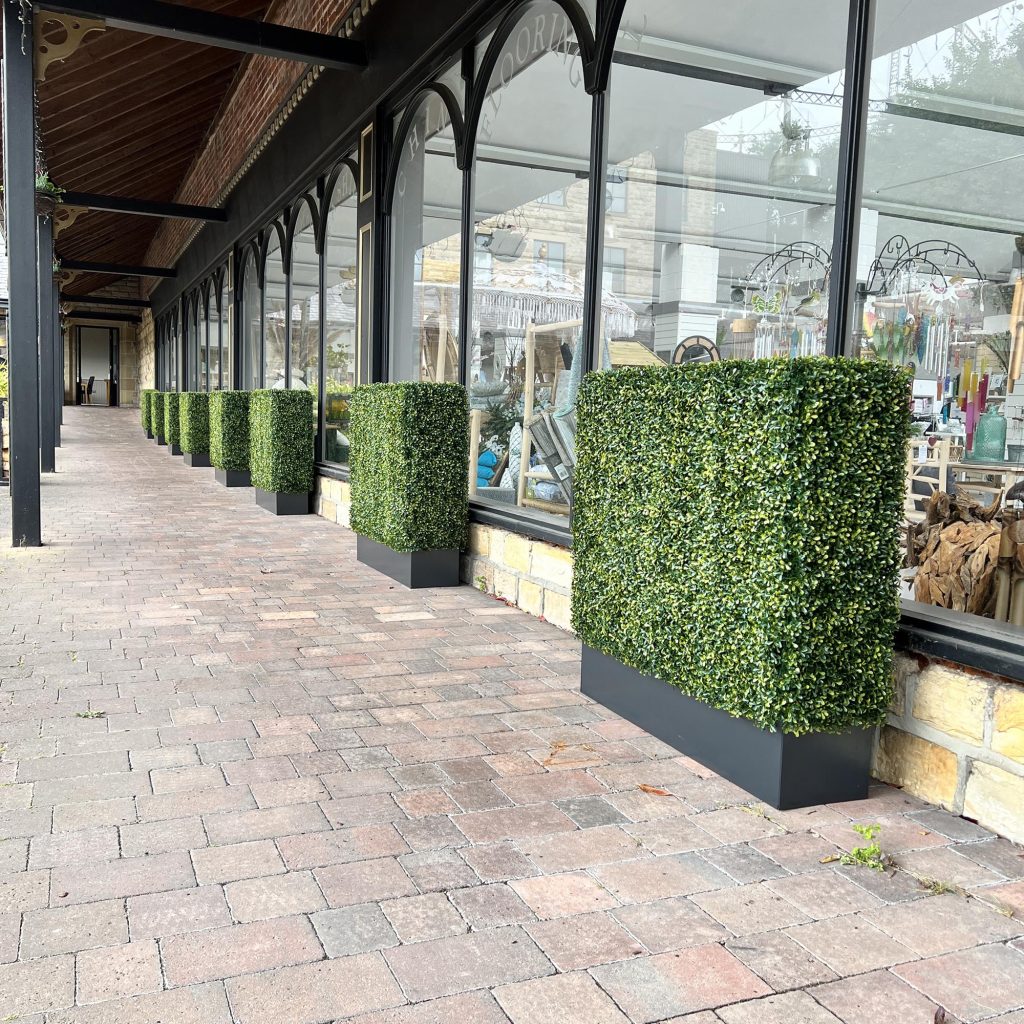
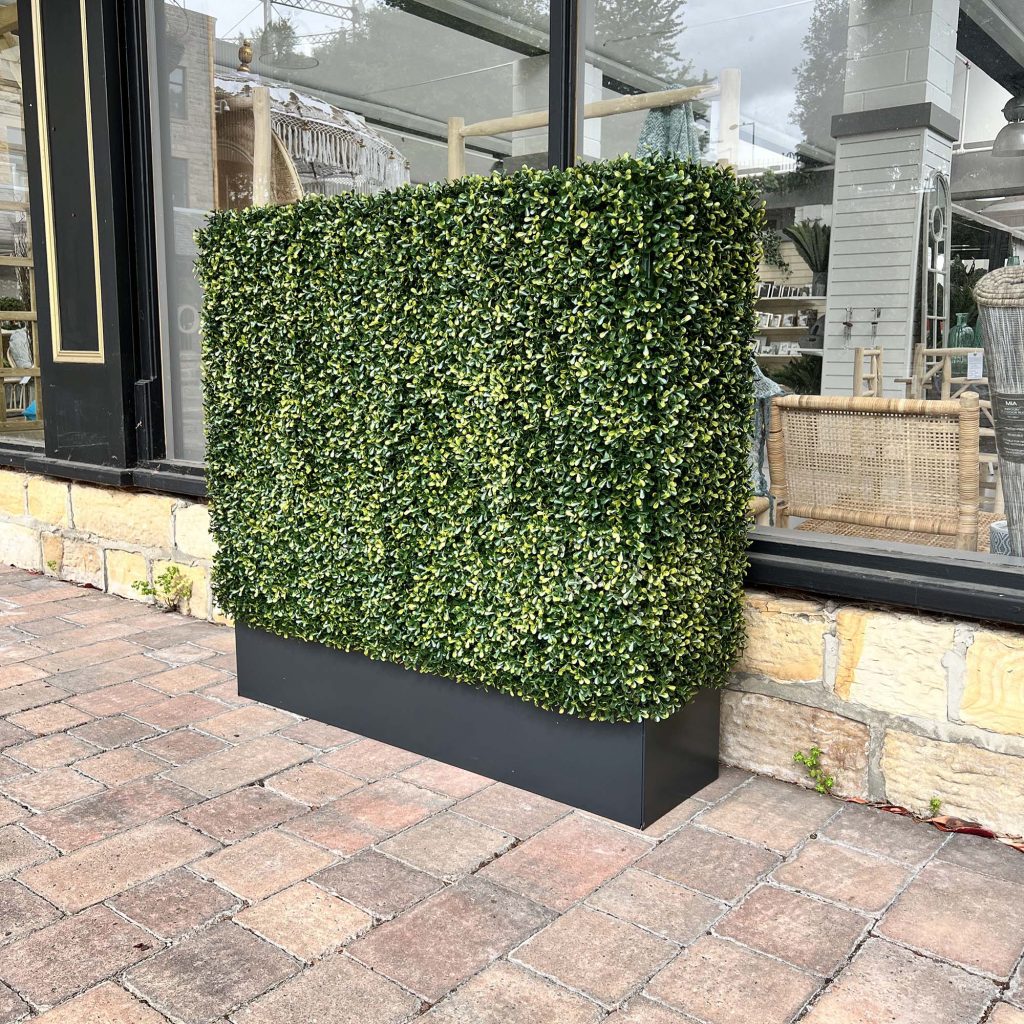
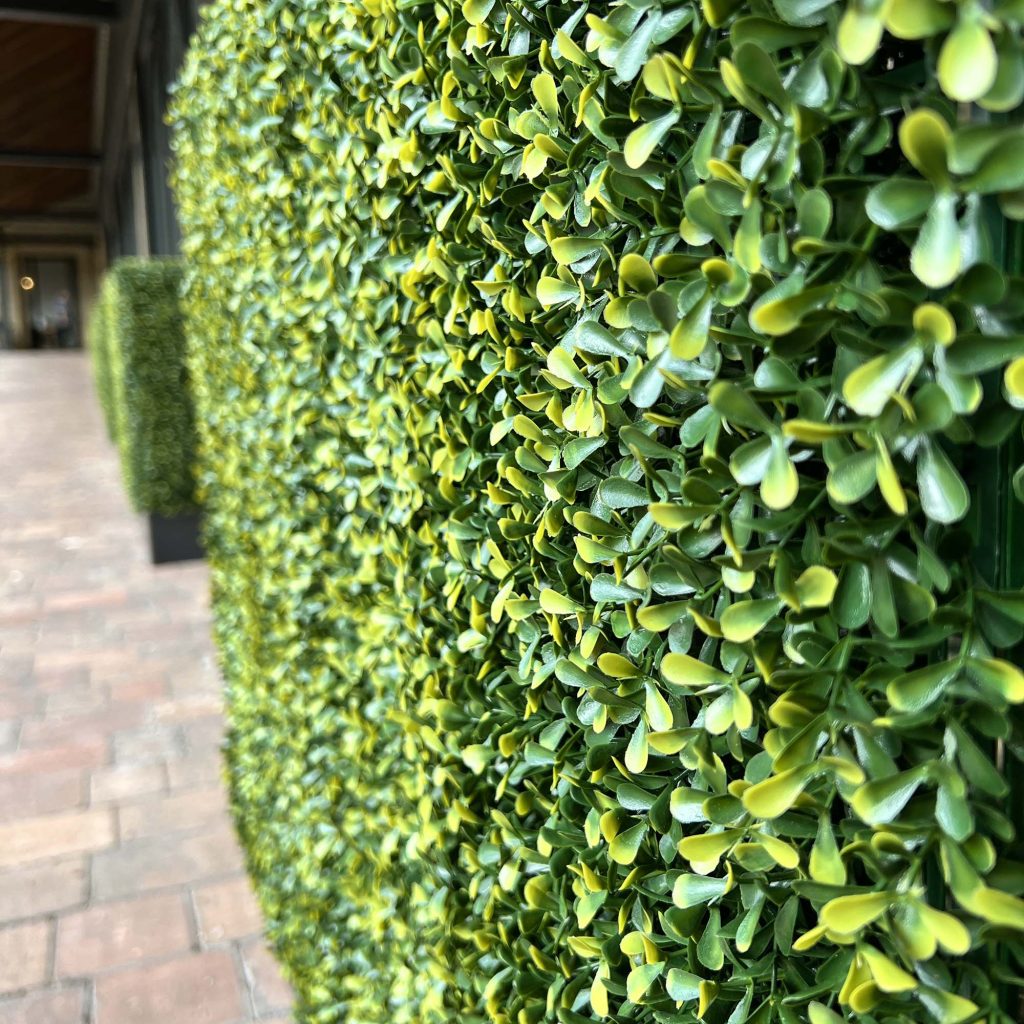
More ideas on using artificial foliage at commercial events.
| Product | Delivery Cost |
|---|---|
| Samples - Royal Mail 2nd (1 - 3 working days) | £0 |
| Under £100 - 3 - 5 working days | £40-60 |
| Over £100 - 5 - 7 working days | £60 - £160 Depending on location |
| Product | Delivery Cost |
|---|---|
| Samples - Royal Mail 2nd (1 - 3 working days) | £0.00 |
| All Other Orders - 3 - 5 working days | £40-65 |
| Product | Delivery Cost |
|---|---|
| Samples - Royal Mail 2nd (1 - 3 working days) | £0.00 |
| All Other Orders - 1 - 3 working days | £14.99 |
| Product | Delivery Cost |
|---|---|
| Artificial Plants - 1 - 3 working days | £14.99 |
| Artificial Flowers - 1 - 3 working days | £14.99 |
